VirtualBox is one the popular free virtualization tools. A type-2 hypervisor that is cross-platform, and can be installed on Windows, Mac and Linux. Similar to VMWare tools, VirtualBox offers Guest Additions package to enhance the performance of your virtual machines.
Why install VirtualBox Guest Additions?
- Improve the performance of your virtual machines.
- Enable dynamic display resolution.
- Copy & Paste text between host and VM (Shared Clipboard).
- Copy & Paste files between host and VM (Shared Folders).
Download Guest Additions ISO
- Open VirtualBox downloads page.
- Search and click on your VirtualBox version. As of today, the latest version is 7.0.20.
- From the available download files, choose
VBoxGuestAdditions_7.0.20.iso.
Mount ISO to your VM
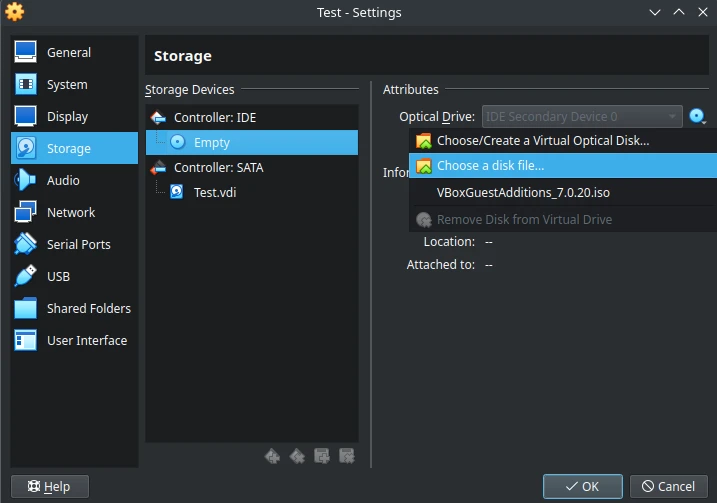
- Choose your VM from the VirtualBox list, click
Settings, then chooseStorage. - Click the CD icon 💿 under storage devices, then click the 💿 next to optical drive, and select
Choose a disk file - Select the downloaded
VBoxGuestAdditions_7.0.20.iso.
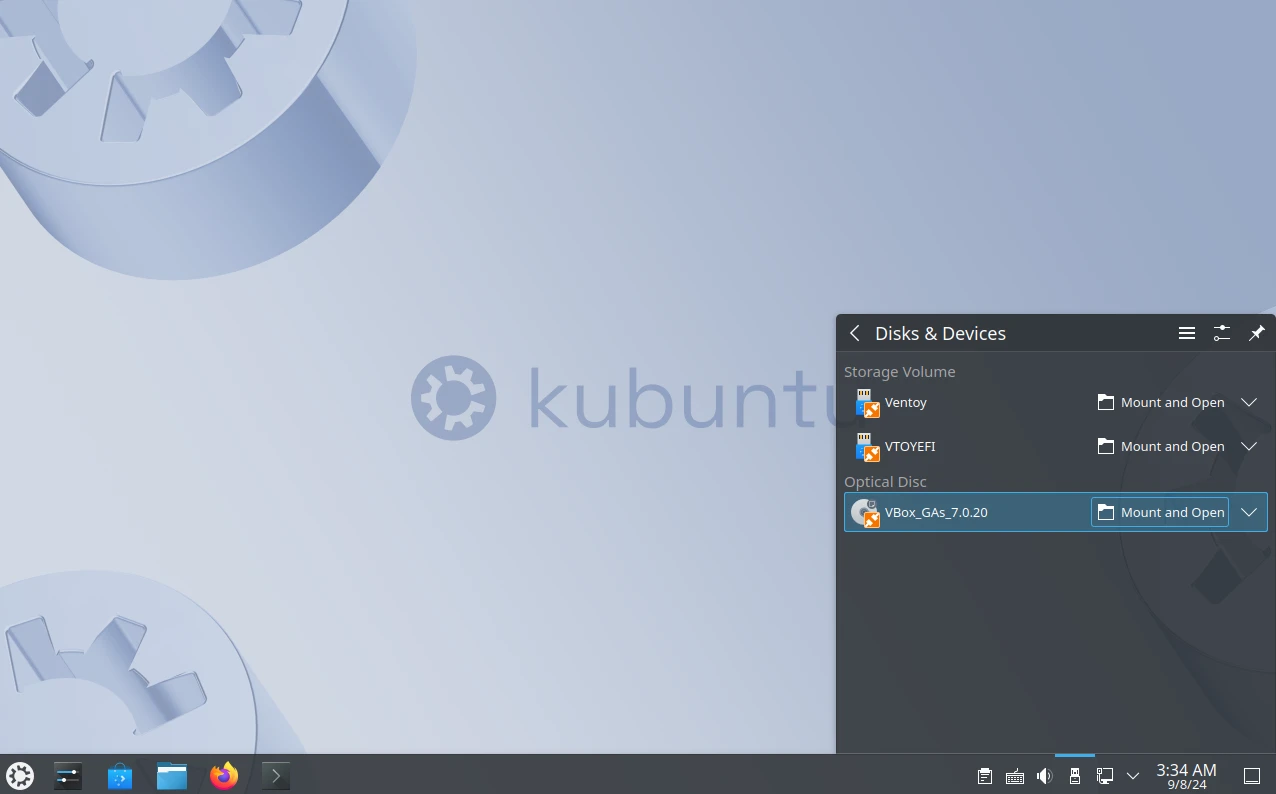
If the VM is turned ON: click the CD icon 💿 in the bottom-right corner, and select
Choose a disk file, then select the downloadedVBoxGuestAdditions_7.0.20.iso.
Install Guest Additions
- Mount the ISO in your VM. If you are using KDE, you should see a popup when the ISO file is detected.
- The 2 highlighted files are the installation binaries for Windows and Linux:
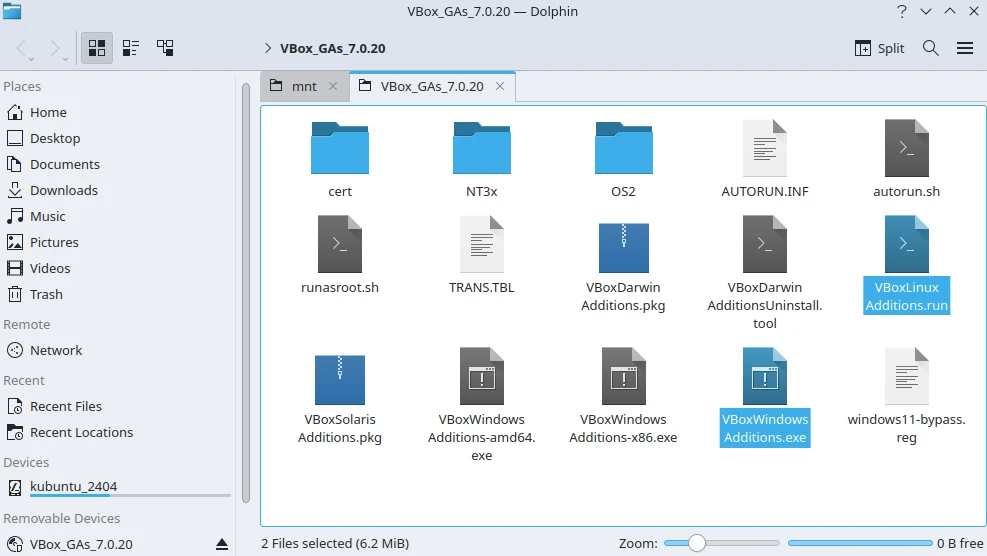
- If your guest VM is running Windows, double click the
VBoxWindowsAdditions.exe. - If your guest VM is running Linux, Open a terminal in the mounted CD directory, and run the following command:
| |
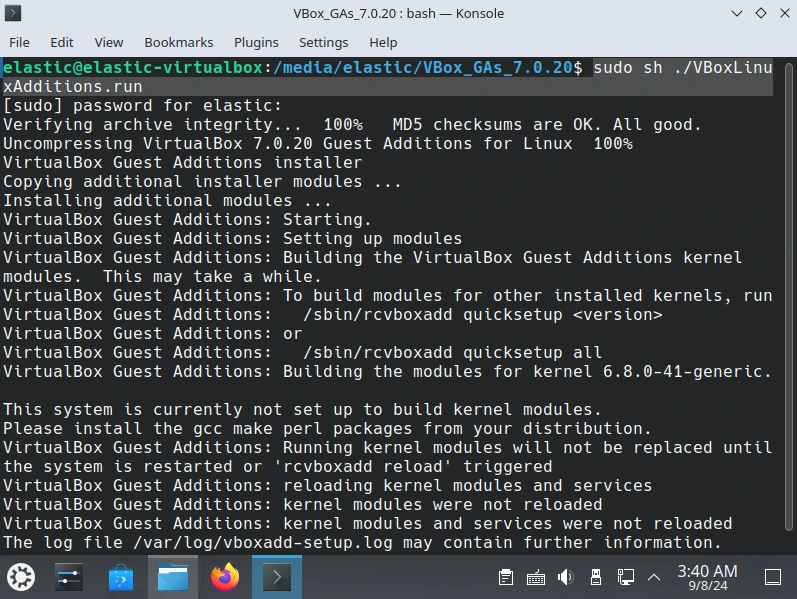
- Finally, reboot your VM to apply the changes.